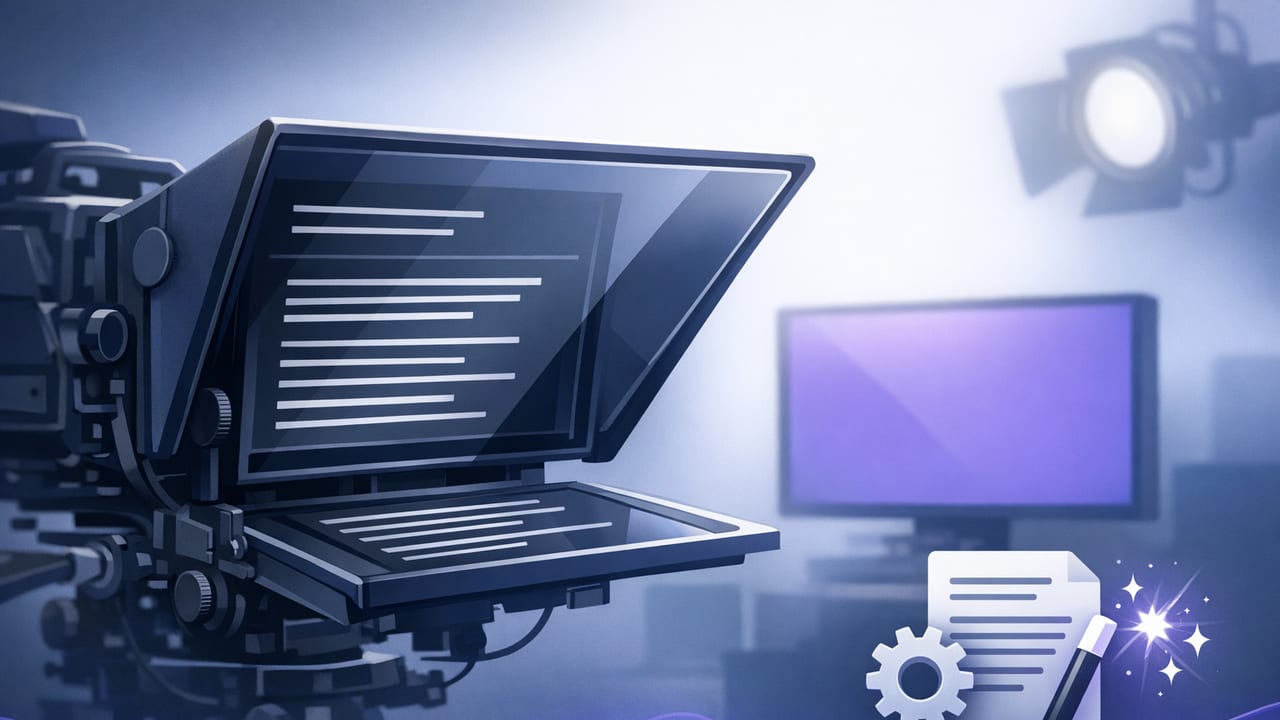
An autocue (often used interchangeably with “teleprompter”) is one of the fastest ways to improve scripted videos: fewer retakes, smoother pacing, and better eye contact. The challenge is doing it on an iPhone without turning your setup into a studio project.
This guide walks through a practical, creator-friendly autocue workflow—from script prep to 4K capture, clean audio, and on-device subtitles—so you can record confidently while keeping your process simple and private.
What “autocue” means (and why it matters for creators)
In traditional broadcast, an autocue is a screen positioned near the camera lens that scrolls your script. For iPhone creators, it usually means a teleprompter-style app that displays scrolling text while you record, helping you:
- Maintain eye contact (better trust and watch time)
- Keep pacing consistent (clearer, more concise delivery)
- Reduce editing time (fewer jump cuts and filler words)
- Scale content production (repeatable script-to-video workflow)
Choose your autocue setup: hardware-free vs mount-based
Option A: App-only (fastest)
Use your iPhone normally and read from the screen. This is best for quick updates, simple intros, or seated talking-head videos where perfect eye contact isn’t critical.
Option B: Teleprompter mount (best eye contact)
A small smartphone teleprompter mount uses glass to reflect text in front of the lens. It improves eye contact dramatically. If you’re filming daily, this setup pays for itself in fewer retakes.
Rule of thumb: if your audience is sensitive to “reading eyes,” use a mount. If your priority is speed, start app-only and upgrade later.
Step 1: Write for spoken delivery (not for reading)
Autocue success starts in the script. Spoken scripts need rhythm and breath. If you paste a blog paragraph into an autocue, you’ll sound stiff—no matter how good your app is.
Script guidelines that sound natural on camera
- Short lines: aim for 8–12 words per line.
- One idea per sentence: avoid stacked clauses.
- Say it out loud once before recording; rewrite anything that feels awkward.
- Mark emphasis with bold or caps (sparingly) to avoid monotone delivery.
- Write in contractions (“you’ll” instead of “you will”) to sound conversational.
A simple autocue-friendly script template
[HOOK]
If your scripted videos feel stiff,
try this autocue workflow.

[VALUE]
Step one: shorten your lines.
Step two: pace with pauses.
Step three: record in 4K with clean audio.

[CTA]
If you want the checklist,
save this and test it today.
Step 2: Set your scrolling mode (voice-follow, fixed, or timed)
The key to a good autocue is matching scrolling to your delivery. Most teleprompter apps offer a few common modes. Use this table to choose quickly:
| Mode | Best for | Pros | Watch out for |
|---|---|---|---|
| Voice-follow | Conversational talking-head | Adapts to your speed, fewer restarts | Needs clear audio input; noisy rooms can reduce accuracy |
| Fixed-speed | Short, practiced scripts | Predictable rhythm, simple setup | If you speed up or slow down, you’ll “chase” the text |
| Timed | Ads, promos, exact-length segments | Hits a target duration reliably | Requires rehearsal and timing adjustments |
How to estimate your timed scroll length
A common speaking rate is 130–160 words per minute for clear, on-camera delivery. Use this quick estimate:
estimated_seconds = (word_count / words_per_minute) * 60Example: a 240-word script at 150 WPM is about 96 seconds. Then add 5–10% if you plan for pauses.
Step 3: Lock in camera settings for clean 4K video
Your autocue helps delivery, but viewers judge quality by image stability, sharpness, and consistency. For iPhone scripted videos, focus on these fundamentals:
- Resolution/frame rate: use 4K if you crop for vertical formats; 30fps is standard for talking-head, 60fps if you want extra smoothness or plan to slow down.
- Lens choice: the 1x lens is often the cleanest. Avoid ultra-wide for face distortion unless it’s a deliberate style.
- Stabilization: use a tripod; stabilization is helpful, but a steady frame looks more professional.
- Light: face a window or use a soft key light; autocue can’t fix noisy low-light footage.
Step 4: Prioritize audio (your autocue depends on it)
If you use voice-follow scrolling, audio quality matters twice: it improves both the video and the autocue tracking. Even with fixed-speed scrolling, clean audio reduces editing time.
Quick audio upgrades that actually help
- Lavalier mic: the highest impact for talking-head content.
- Positioning: keep the mic 6–10 inches from your mouth.
- Room control: soft furnishings reduce echo; turn off loud fans when possible.
- Levels: avoid clipping—distortion can’t be fixed later.
Step 5: Eye contact tricks when using an autocue
Even with a great teleprompter, the “reading look” can appear if your eyes move too much. These techniques help you look present and natural:
- Increase font size so your eyes move less.
- Use wider line spacing to reduce rapid scanning.
- Insert intentional pauses (blank lines) for breath and emphasis.
- Chunk your script into 1–2 sentence blocks; finish a block, then glance back for the next.
- Keep the lens close to the text (or use a mount) to minimize gaze offset.
Step 6: Record with a “two-take” system (saves hours)
Creators often waste time chasing a perfect single take. A better approach is structured redundancy:
- Take 1: focus on energy and clarity—don’t stop for small errors.
- Take 2: fix any lines you flubbed, aim for smoother pacing.
In editing, you’ll almost always have a clean version of each line, and you’ll spend less time rerecording entire segments.
Step 7: Generate subtitles (ideally on-device)
Subtitles aren’t optional for modern short-form and mobile-first video. They improve comprehension, accessibility, and retention—especially for non-native speakers or viewers in quiet environments.
Why on-device subtitles matter
- Privacy: your scripts and footage don’t need to leave your phone.
- Speed: offline generation avoids upload delays.
- Reliability: you can caption anywhere, even without internet.
Step 8: Export correctly for each platform
A good autocue workflow ends with a platform-appropriate export. If you record in 4K, you gain flexibility to crop and reframe without losing sharpness.
Common creator exports
- Vertical (9:16): TikTok, Reels, Shorts
- Square (1:1): some feed posts and repurposed clips
- Horizontal (16:9): YouTube and course content
Before exporting, confirm:
- Text is inside safe margins (subtitles shouldn’t sit on UI overlays)
- Audio is consistent (no huge level jumps between clips)
- Color and brightness match across takes (avoid auto-exposure swings)
Troubleshooting: common autocue problems (and fixes)
“I still look like I’m reading.”
- Increase font size and line spacing
- Shorten lines and add more paragraph breaks
- Use a mount so the text is closer to the lens
“My pacing sounds rushed.”
- Slow scroll by 10–15%
- Add pause markers (blank lines)
- Underline 1–2 key words per sentence to emphasize
“Voice-follow keeps drifting.”
- Use an external mic and reduce background noise
- Speak slightly more distinctly (especially sentence endings)
- Try fixed-speed for short scripts, or timed mode for strict duration
A repeatable autocue checklist (copy/paste)
- Script: short lines, contractions, emphasis marked
- Autocue mode: voice-follow (dynamic) / fixed-speed (simple) / timed (exact)
- Camera: 4K if cropping, stable framing, consistent light
- Audio: lav mic if possible, no clipping, minimal echo
- Delivery: font size up, pauses added, two-take system
- Subtitles: generate on-device when possible, check accuracy
- Export: correct aspect ratio, safe margins, consistent levels
Final note
The best autocue setup is the one you’ll actually use consistently. Start simple, refine your script formatting, then upgrade your scrolling mode, audio, and subtitle workflow as your output grows. If you want a privacy-focused iPhone teleprompter workflow that stays on-device end-to-end, apps like CueCam are designed around that approach.
